When you first turn on the RFID gun you will be greeted with the Initial setup screen. This guide will walk you through first time setup and app installation.
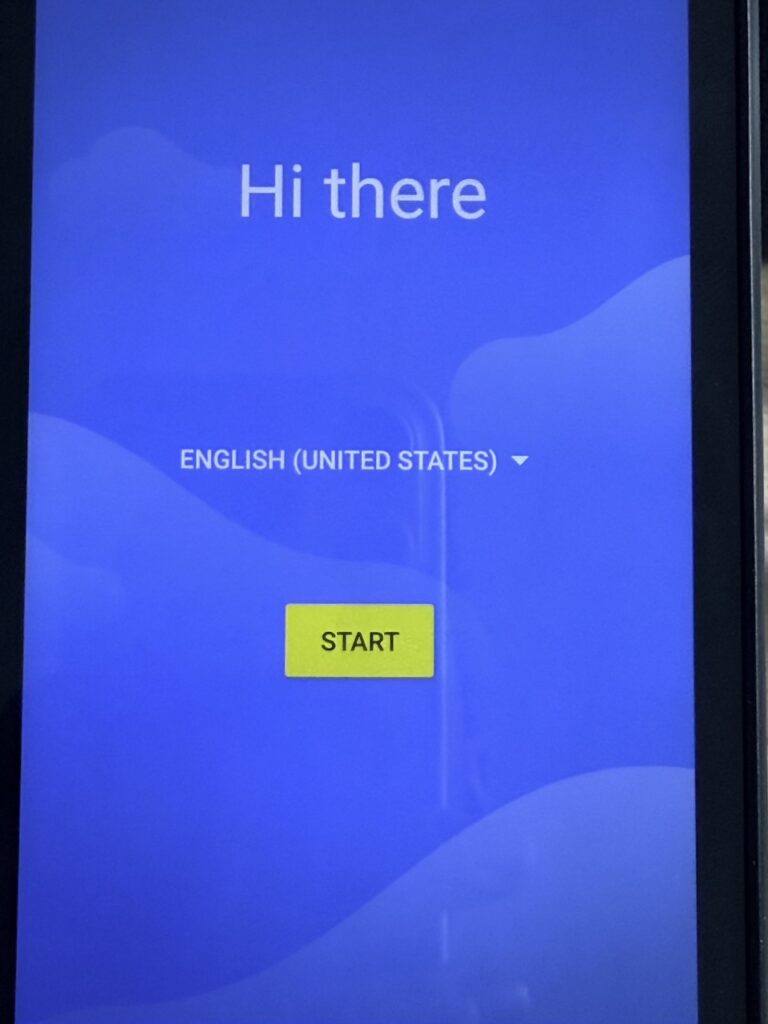
On this screen click START
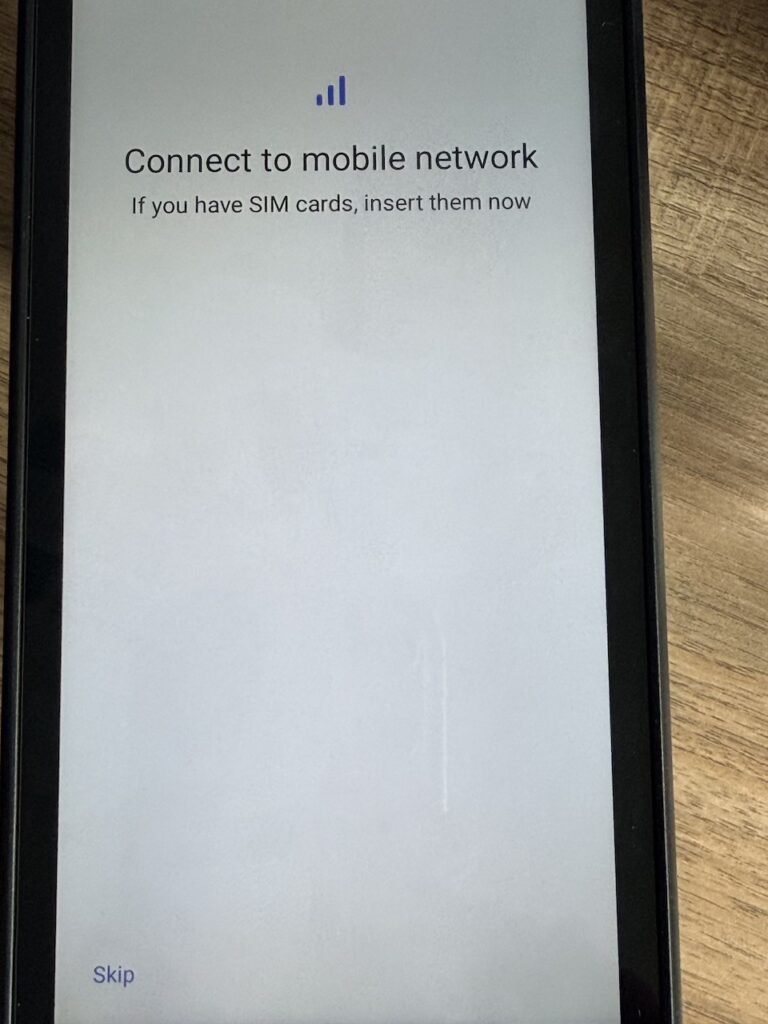
Click SKIP
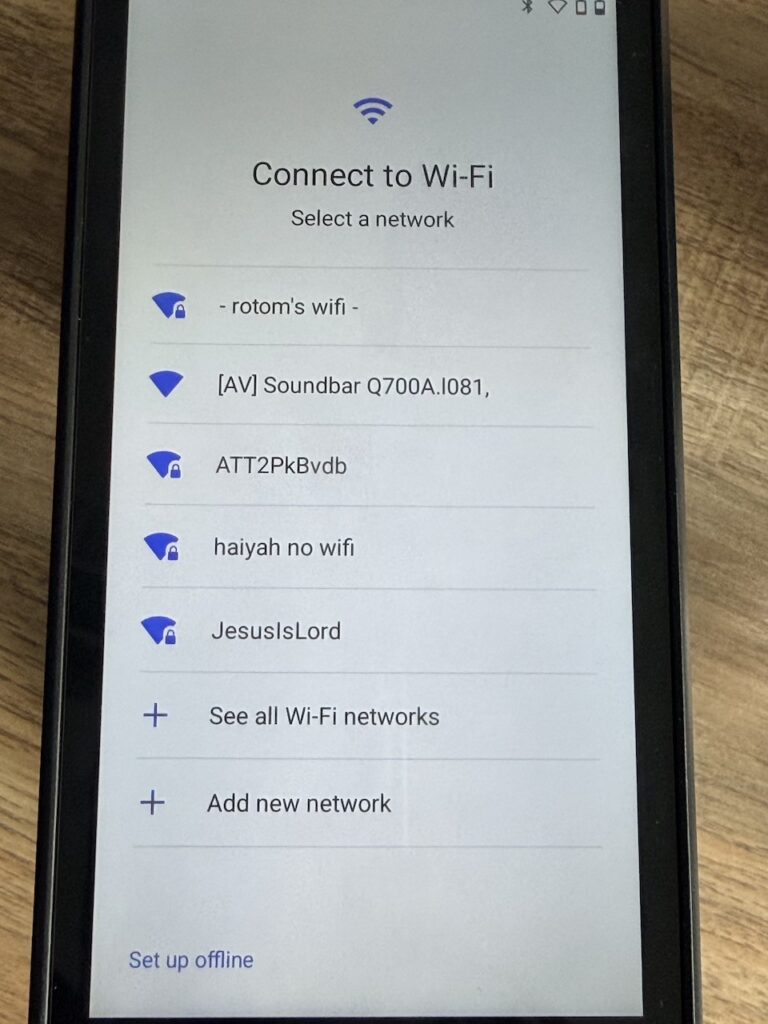
Find and join your WiFi network. It will then take a few minutes to setup and you might see the words Getting your phone ready or Just a sec. Keep waiting until you see this screen.
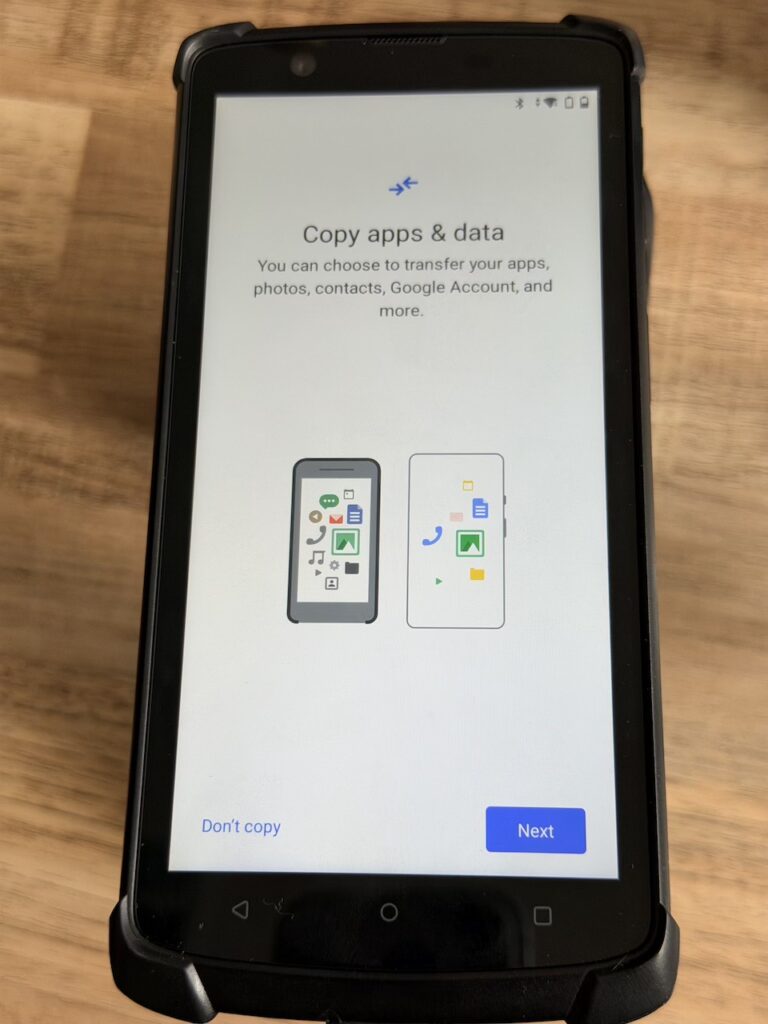
Click Don’t copy to proceed
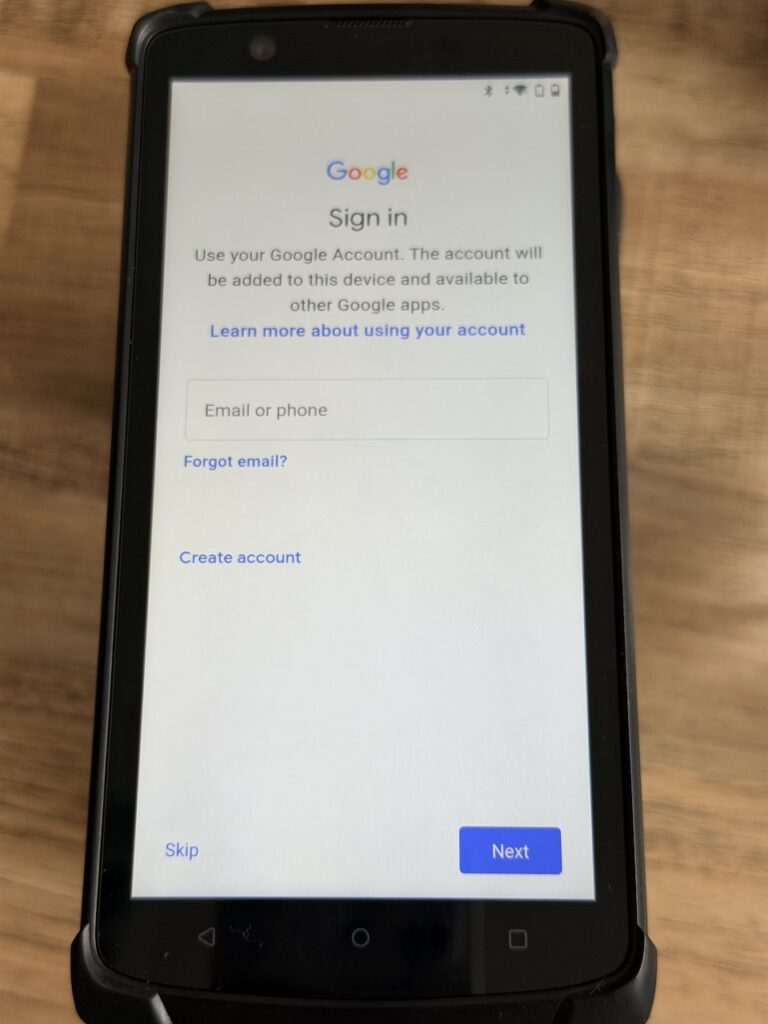
You will be prompted to sign in here just click Skip and if it asks to confirm click Skip again

You will then be asked for permissions for Google services. here just scroll down and click Accept
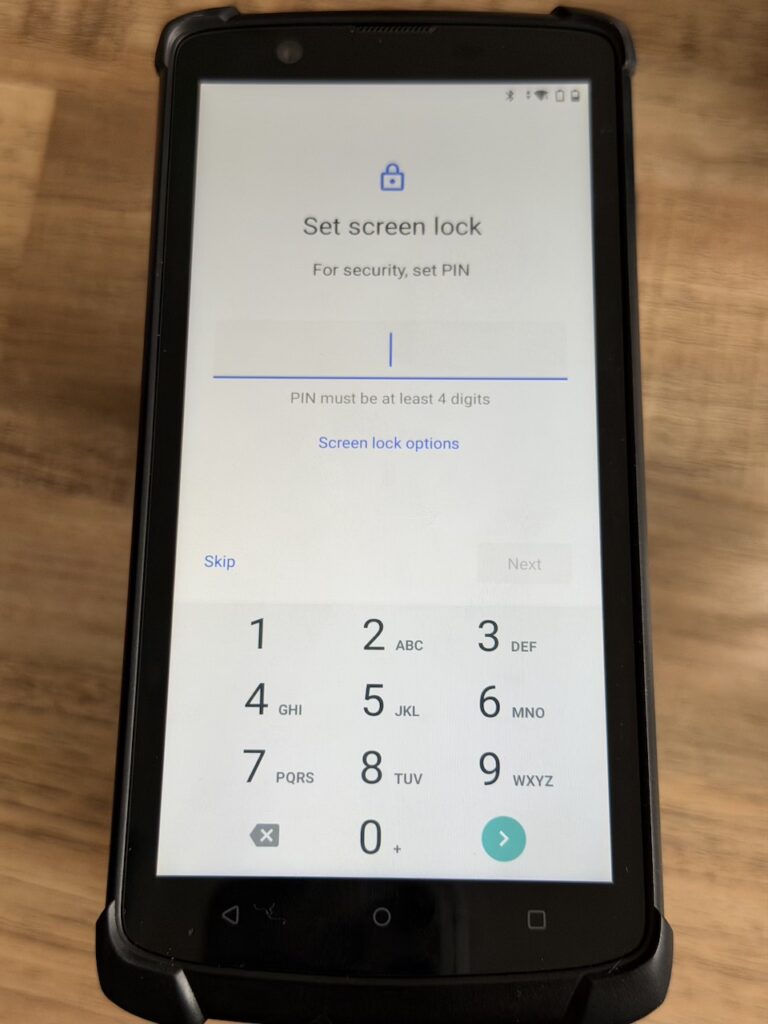
You will be asked to create a pin just click Skip here. If it asks you again click Skip anyway and proceed

You will be asked for location consent, you can turn it on or off and click Next
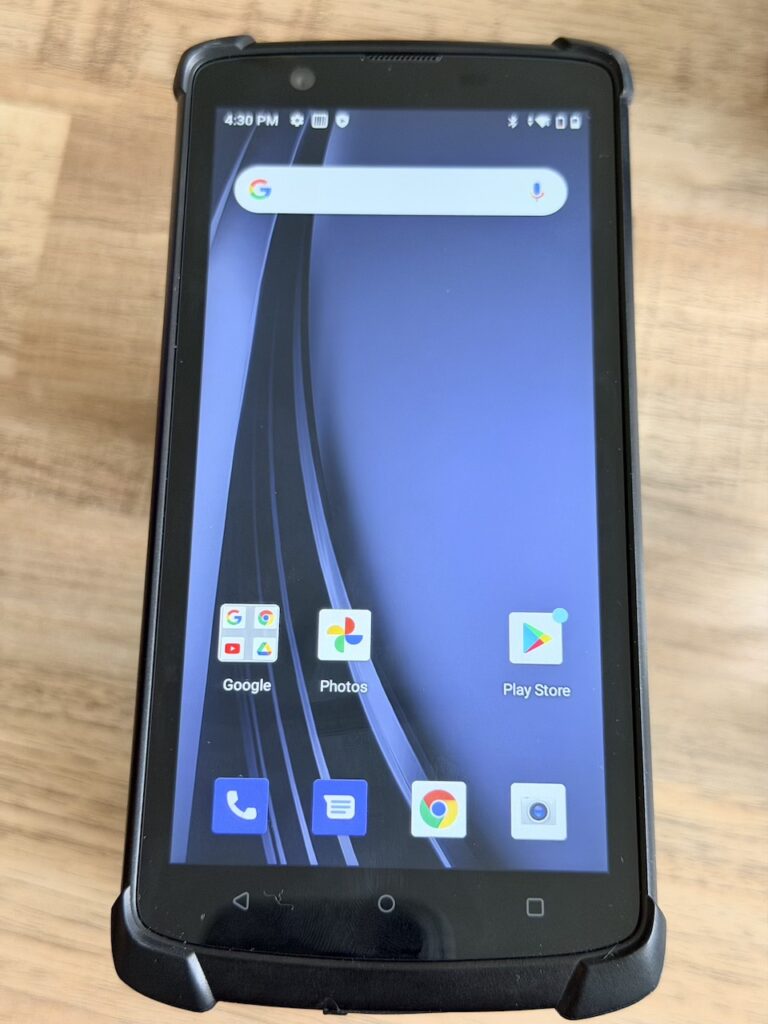
Finally you will be on the Home screen. from here we can install the EyeSoft app.
To do this open Google Chrome (Yellow, red & Green circle with blue dot in the middle). And navigate to eyesoft.ca/install to get the latest installation packages.
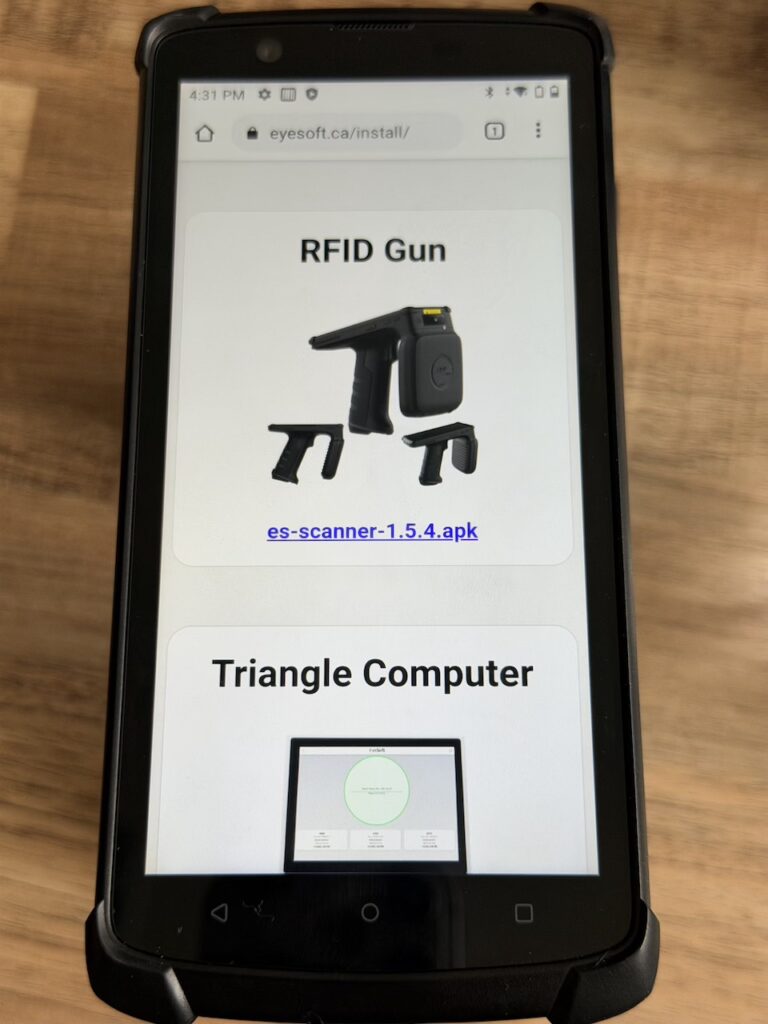
Tap the most recent version of ES-Scanner
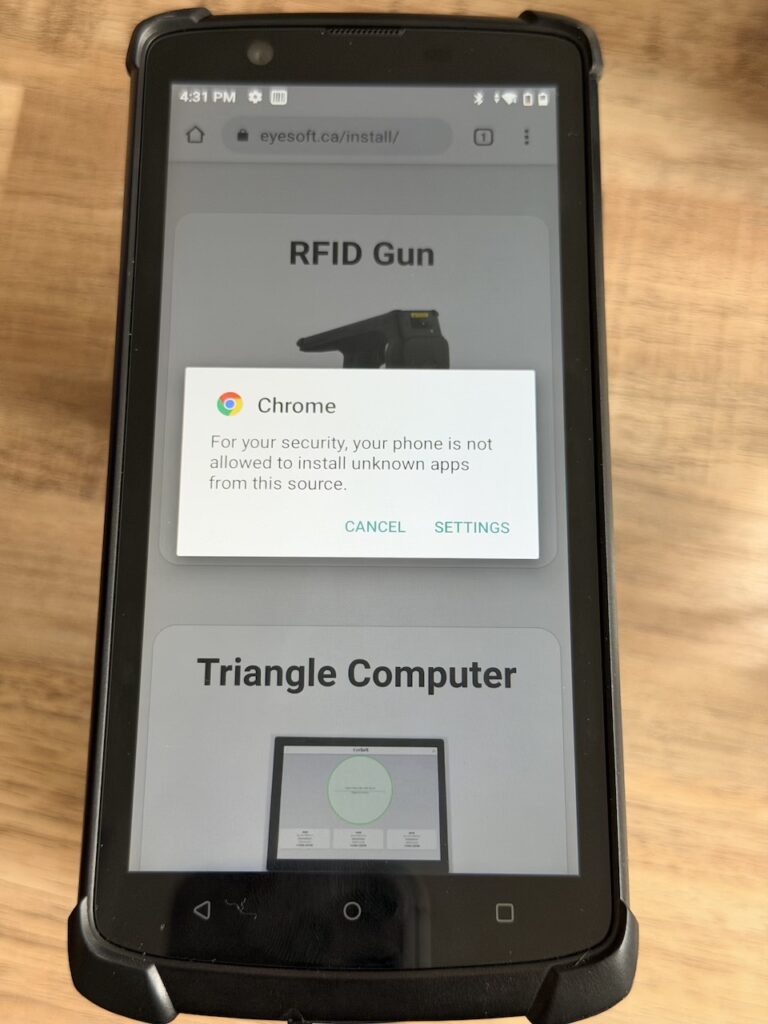
You may get a security prompt, from here click Settings and turn on Allow from this source
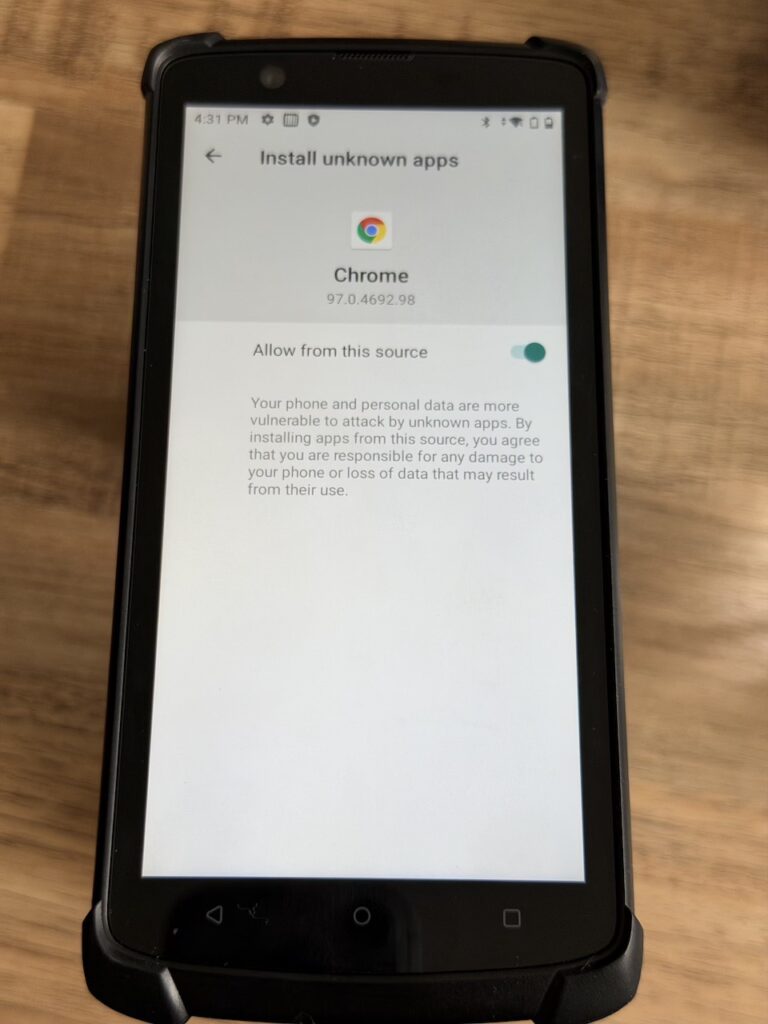
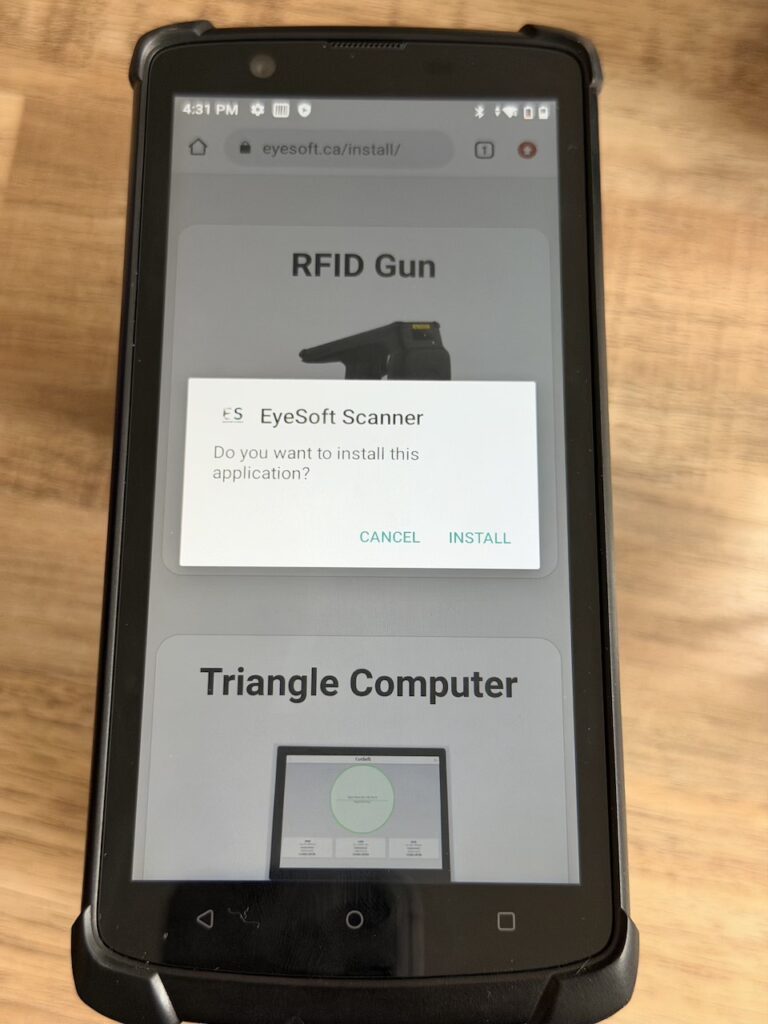
Once you have Allow from this source turned on, click the back button (left facing arrow on the device) and click Install
Please look here to configure your Barcode scanner settings: https://eyesoft.ca/2024/11/19/rfid-gun-barcode-settings/
After this your device is fully setup and will be fully operational.